Write Sensor Data to Cloud Storage
Lab Objectives
In this lab you will need to store the device environmental sensor data in a NoSQL database. You will learn:
- How to create a Node-RED flow that uses a database output
- How to format a time series database record
Introduction
While real-time charts of sensor data and threshold alerts are useful, the power of IoT becomes significant when data analytics techniques, Machine Learning and AI are applied to the IoT historical datasets. The first and necessary step toward data analytics is storing the incoming data in a Cloud data storage database for later statistical modelling.
IMPORTANT
You will need to secure a suitable NoSQL database. It is reccomended using MongoDB. You could get a free account on MongoDB, or install MongoDB locally on your laptop.
You may need some time to figure out how to:
- Create a new cluster in mongodb
- Grant network access to your Node-RED instance, or grant access to every network address
If you decide to use MongoDB, you’d also need to install the MongoDB node in your Node-RED instance.
Step 1 - Import the Node-RED Storage Flow
Open the “Get the Code” github URL listed below, mark or Ctrl-A to select all of the text, and copy the text for the flow to your Clipboard. Recall from a previous section, click on the Node-RED Menu, then Import, then Clipboard. Paste the text of the flow into the Import nodes dialog and press the red Import button.
Node-RED Cloud Storage Flow : Get the Code{target=_blank}
You will need to verify the configuration of the mqtt in node to use your configuration, as you did in the previous section.
IMPORTANT
Note, the code you have imported makes use of an input node for IBM Cloudant DB. You will need to delete the node, and replace with a mongoDB input.
Step 2 - Store IoT Sensor Data with Node-RED
In this step you will use Node-RED to store IoT Sensor data from the ESP8266 DHT environmental sensors in a MongoDB database.
- When the flow is imported there will be a misconfigured node (since it is configured to use another DB, i.e. the IBM Cloudant DB) – indicated by a red triangle.
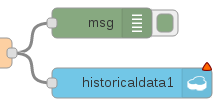
- Replace the IBM cloudant input node with the input node for your database (e.g. mongoDB),
-
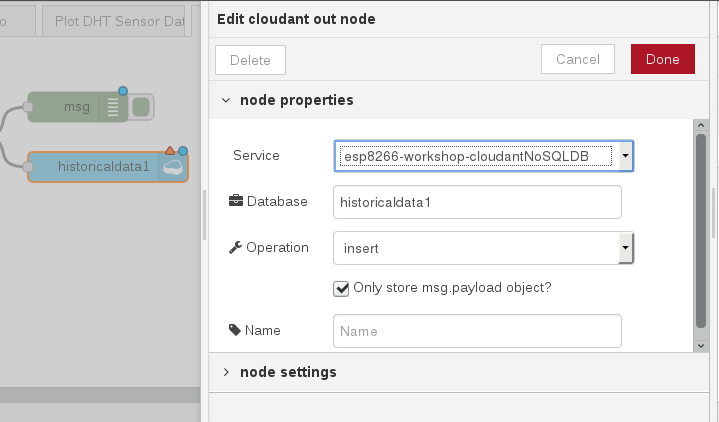
Associate the input db node with with your database instance, double-click on the historical data node and press the red Done button. The red error triangle will turn blue.
- The Format Time Series DB Record function node recasts the ESP8266 DHT JSON object. As required by any time series dataset, the Node-RED function node adds a timestamp to the record before writing it to the Cloudant storage.

In the screenshot, the debug sidebar shows a msg.payload that includes the Epoch timestamp (milliseconds since Jan 1 1970).
- Click the Deploy button on the top of menu bar to deploy the Node-RED flow.
- The device environmental sensor data is now being recorded in a Cloudant database.
Step 3 - Observe Sensor Data Added to the MongoDB Database
MongoDB provides utilities to monitor data incoming to your database.
Spend some time to familiarise with those utilities, and observe the data gathered from your device.